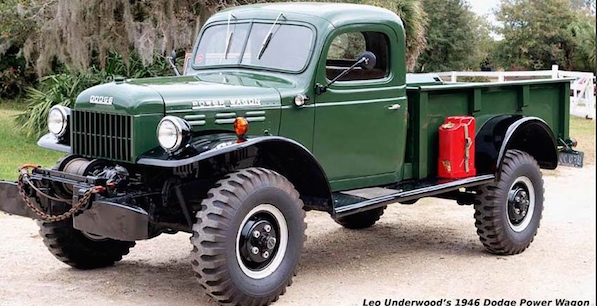


1945-1967 Civilian Power Wagon PS Conversion
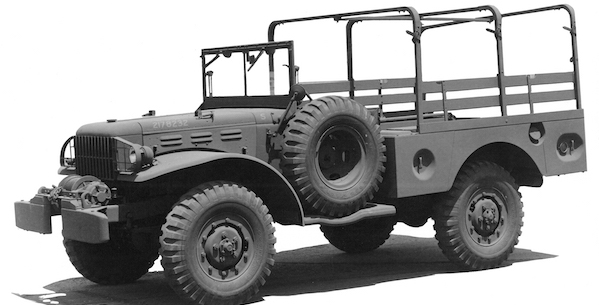
1942-1945 WC 3/4 Ton Weapons Carrier PS Conversion
Price: $270 plus shipping
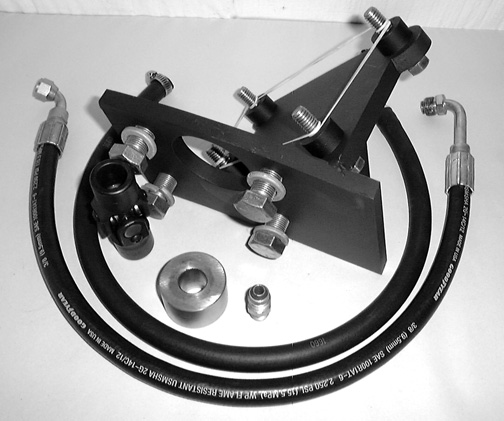
Pictured above is the 1946-1968 Civilian Power wagon/ WC3/4 ton power steering bracket kit for installing the 1972-1977 Dodge 4x4 (or 1978-1979 Dodge pickup box) reverse rotation Saganaw power steering box in the WDX/WM300 Power Wagon. The kit includes:
1 Bracket for attaching the saganaw box to the Power Wagon frame.
4 5/8"NF X 1" bolts and lock washers to fasten the bracket to the frame.
4 7/16"NC X 2" bolts and lock washers for attaching the PS box to the bracket.
1 27" long pressure hose.
1 27" long return hose.
1 U-joint for attaching the steering box to the original steering shaft.
1 Bushing for the lower end of the steering column.
Steering box installation
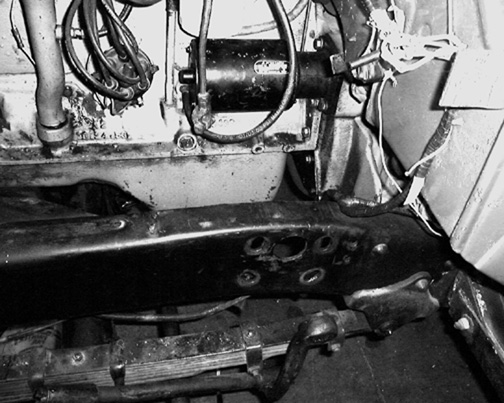
1. Remove your left fender, fender skirt, battery box, rear fender skirt bracket and steering column as pictured below. You will have to remove the steering wheel from the column and slide the column and box forward and down over the rop of the axle. If you can't get the steering wheel off you can hacksaw the column and steering shaft where it ataches to the original gearbox.
2. Cut out the indicated areas of the template provided and place it on the top side of the frame so that the inside edge of the template is even with the inside edge of the upper frame web. Align the two arrows on the template with the centers of the upper two elongated bolt holes that are used to atach the original gearbox. Use a couple of clothes pins to hold it in place while you mark the areas to cut out of the frame web.
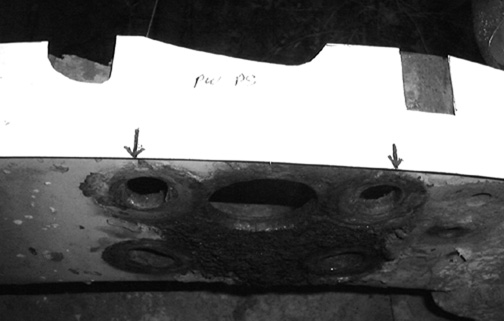
3. Cut out the three areas of the frame that you have marked, a 4" grinder works well for this. You can also hacksaw the sides of the sections then use a cresent wrench to work the piece of metal up and down until the inside edge breaks. Do not grind on or modify the PS box itself or you will not be able to exchange it for a rebuilt unit if you should need to in the future.
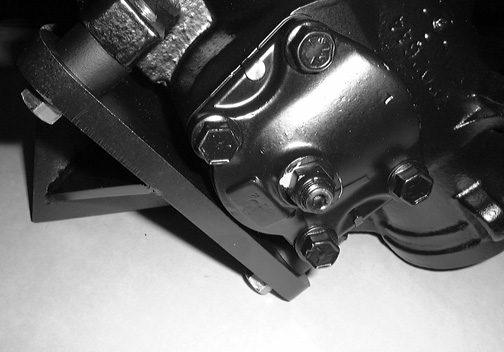
4. Mount the saganaw gearbox to the bracket as shown below. The lower inside bolt does not have a lock washer, also notice that the round spacer for that bolt has a chamfer on one edge this goes toward the weld bead.
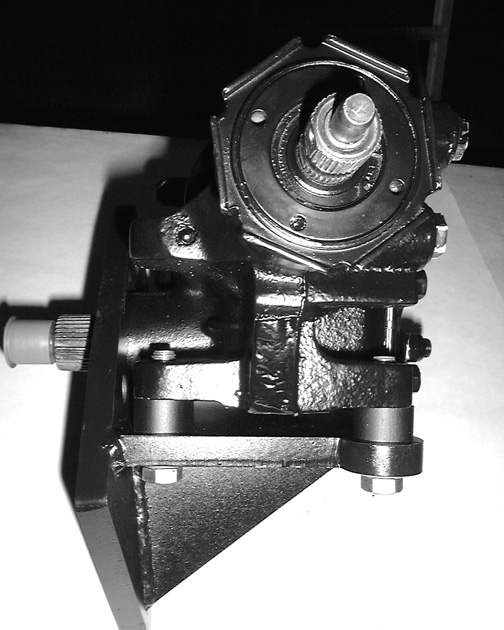
Below is a side view of the bracket with box atached.
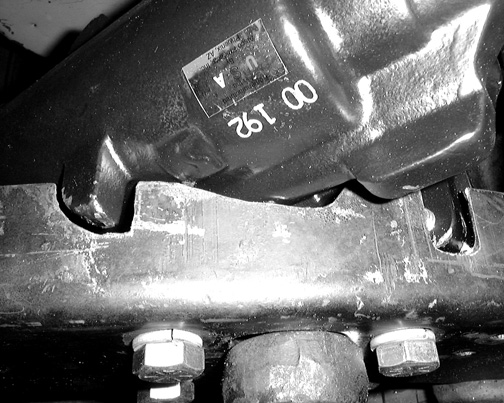
5. Set the box and bracket assembly into the frame as shown below. You can install the pitman arm and nut loosly to hold the box in place while you check the fit. The outside face of the bracket plate should be flush with the inside surface of the frame. If it is not you will have to find what is interfering with the fit and remove it.
You may have to put a slight chamfer on the long edges of the bracket plate to clear the bend radius where the upper and lower frame flanges meet the vertical frame side. On one of the installations I have done the rear edge of the bracket plate had to have a 1/4" notch cut in it to clear the front of the engine mount while two other installations didn't.
When everything fits properly install the four 5/8" bolts and lockwashers and tighten them up.
6. Install the pressure line from the large lower port on the steering box to the pressure port on your pump. If you are using a ford PS pump mounted on a 230 engine (as shown in the previous section) you will need to first install the weatherhead adaptor part# 1439 suplied with the steering box kit and then atach your hose to it. Now install the return line from the small upper port on the steering box to the return port on your pump and add Power steering fluid (NOT red ATF).
7. Cut your outer tube and inner steering shaft to the length you want If you are tall and need extra room under the steering wheel for your knees you can cut the column a little longer as needed. If the lower end of your steering shaft is not exactly 7/8" in diameter you will need to turn it down so that it just slips into the end of the u-joint. On smaller lathes you can leave the steering wheel atached to the shaft and insert the steering shaft into the lathe from the rear of the lathe head. This can be done if it is impossible to remove the steering wheel because of rust.
8. With the u-joint in place and using the holes in it as a guide drill 1/4" holes on each side so that you can pass the 1/4" X 1-1/4" bolt through and secure the ujoint to the steering shaft. Make sure that the u-joint doesn't move when you are doing this or the holes will not line up properly. A good way to acomplish this is to insert a short 1/4" bolt into the first hole you drill then turn the shaft over and drill the second hole.
9. Run your engine and turn the steering wheel from lock to lock to clear air out of the system adding fluid as needed. Check your pitman arm to see if it is rubbing against the frame or the lower rear bracket bolt. If it is either enlarge the shaft hole in the frame to clear it or chamfer the inside edge of the pitman arm boss so that it clears the frame.
When all is working properly tighten up the pitman arm nut and drill and tap a hole in the gearbox bracket to atach the rear fender skirt bracket (one bolt should be enough). Check to make sure that the drag link adjustment nuts are properly tightened and saftied. Now you can go out and try parallel parking!