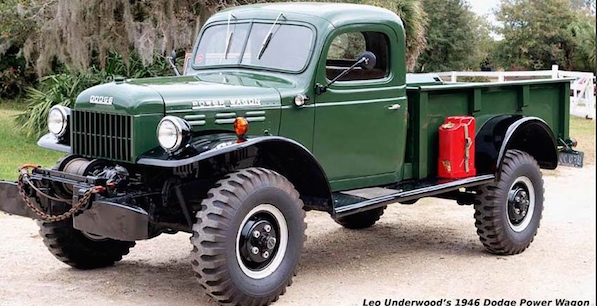


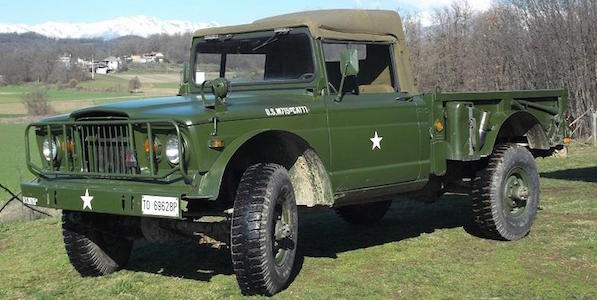
1946-1968 Civilian Power Wagon Centered Rear Axle Mod
Technical information provided by Dave Cirillo
Centered rear axle for WDX/WM300 Power Wagons
The following is a step by step procedure for installing a WC3/4 ton rear axle with centered differential in a Civilian Power Wagon. The reasons for making this change are as follows:
1. The Axle shafts are the same length and less likely to break.
2. You only have to carry one spare axle shaft.
3. By moving the rear drive shaft to the emergency brake drum you eliminate the transfer case whine as well as the wear on the t-case Idler and driven gears. This also allows the t-case to run cooler.
4. Much higher speeds are possible without overheating and damaging the transfer case.
There are three different types of centered axle housings that can be used.
Early (1942-1943) 3/4 ton axle with 8-3/4" differential:
1. Disassemble the axle and clean the housing and shafts.
2. Remove all of the studs from both sides of the center housing.
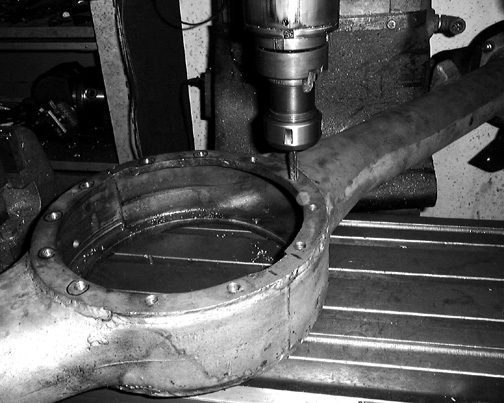
3. Using a vertical mill (or large drill press) drill and tap the 3/8"NC holes on the differential side to 7/16"NC. This must be done very accurately to make sure the studs are exactly 90 degrees to the housing flange.
4. Install the 7/16 studs from your PW axle into the 3/4 ton housing.
5. Reinstall the 3/8" studs and rear cover using 1 gasket.
6. Install the differential from your PW axle into the 3/4ton housing using THREE gaskets stacked on top of each other. Some of these housings were converted by the military and only require one gasket instead of three. If this is has been done there will be a metal tag welded to the differential housing that says "use one gasket".
7. Install the 3/4 ton axle shafts.
8. Install the axle assembly in the Power Wagon.
Late (1944-1945) 3/4 ton axle with 9-5/8" differential:
This one is the same as the Power Wagon except that the differential was centered. No changes are needed since the Differential studs are 7/16". You only use ONE gasket on this housing since it was made for the 9-5/8" differential.
WC1/2 ton axle housing:
1. You will have to grind out the flange that the differential bolts to where the larger diameter Power wagon ring gear hits it in two places and replace the 3/8" studs with 7/16" ones. You will also have to use 3 gaskets when installing the differential.
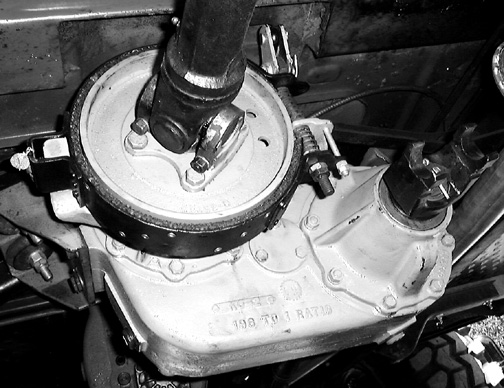
Transfer case modification:
1 Find a 1942-1945 WC3/4 ton transmission and remove it's E-brake drum.
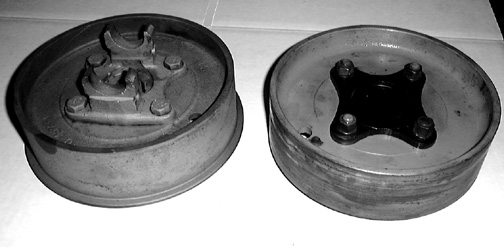
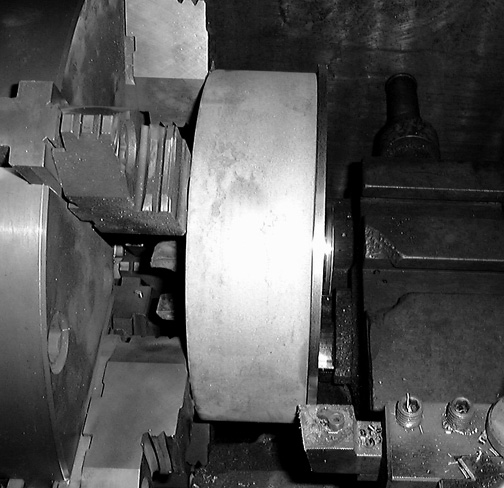
These drums are interchangeable and have only 2 differences. The WC3/4 ton one pictured on the left comes with a yoke for attaching your rear drive shaft and has a flange around it's bottom edge. The flange is not necessary and can be removed as pictured below if you have access to a lathe. This will allow you to install it without removing the E-brake band.
2. Make sure that the area of the yoke where the seal rides is not worn out. If it is purchase a CR speedy-sleeve of the correct size and install it on the yoke shaft.
3. Next remove the original PW E-brake drum and replace its seal if it has been leaking.
4. install the WC3/4 ton E-brake drum and yoke and tighten the nut to the correct torque.
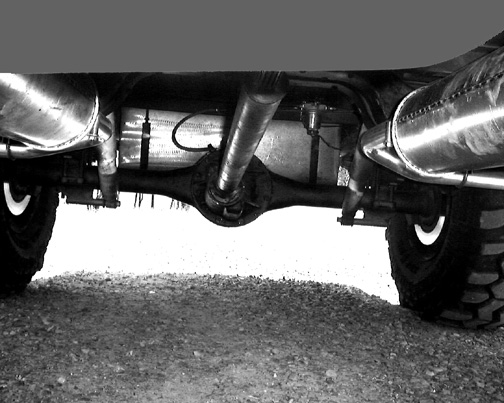
5. Reinstall your rear drive shaft in the new location.
Your T-case should now look like the photo below.